Many of you are wondering about the first easy sewing project. About the one that will quickly yield results, with no strings attached or too much room for mistakes. Or maybe you or your child simply need a hat? Today, we will show you how to sew a hat really quick! For having great and unique pattern on your hat, use fabric printing services at CottonBee 🙂
What you need to sew a hat:
- Sewing fabric (we use single jersey 180 g printed at CottonBee)
- Tape measure
- Fabric pen
- Tailor shears
- Sewing Machine
- See also: What sewing materials to choose? A short guide to woven and knitted fabrics
- Measure the head circumference to which the hat is to be sewn. You should always measure the circumference at the widest point of the head. Then, measure off the head circumference on the sewing fabric, subtracting two centimetres. This is so the cap does not slide off your head.

How to sew a hat – folding the fabric
- Measure the height of the hat – for us, it was 24 centimetres for a children’s cap. If you want to sew a larger hat, with the back of it slightly hanging – you have to measure a few additional centimetres.

- The cap we sew also has a print on the underside – such a configuration does not cause any complications while sewing and looks impressive. In addition, it is warmer and fits flawlessly! To prepare it our way and sew a “double-sided” cap, you need to cut the fabric with the size measured according to the formula:
(head circumference – 2 centimetres) and (cap height x 2)
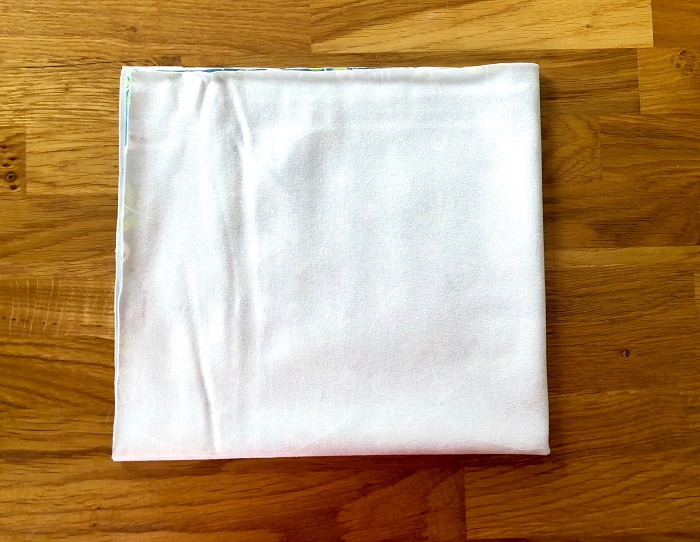
- Fold the fabric in half along the longer side.

- Fold the fabric in half again, this time along the shorter side.

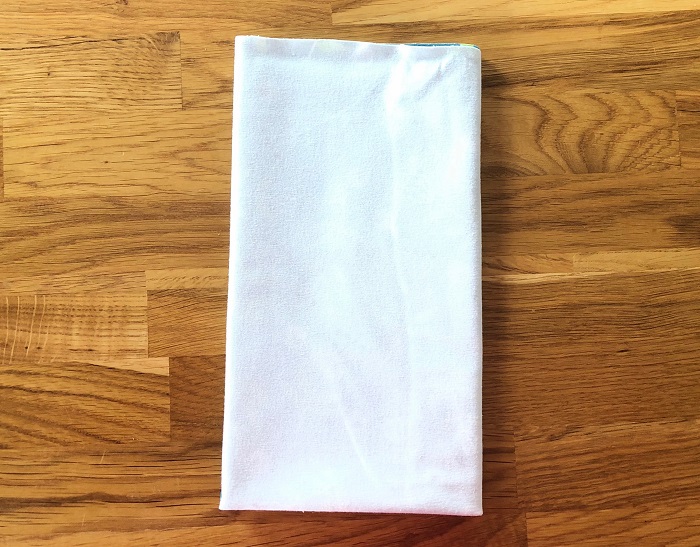
- Fold the fabric used to sew the hat in half yet again.

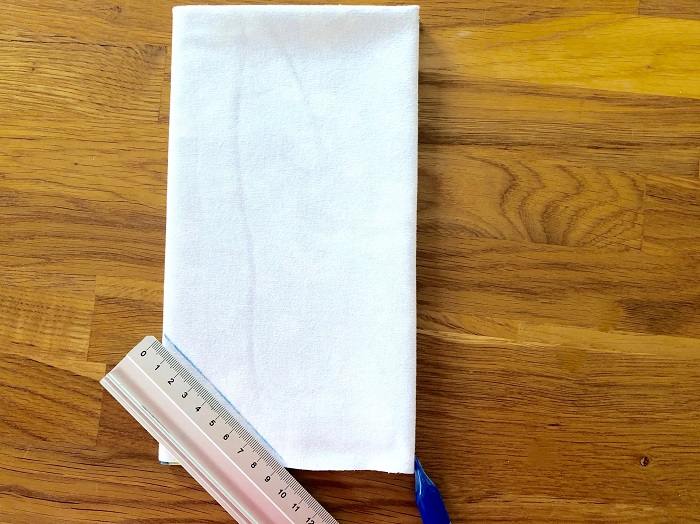
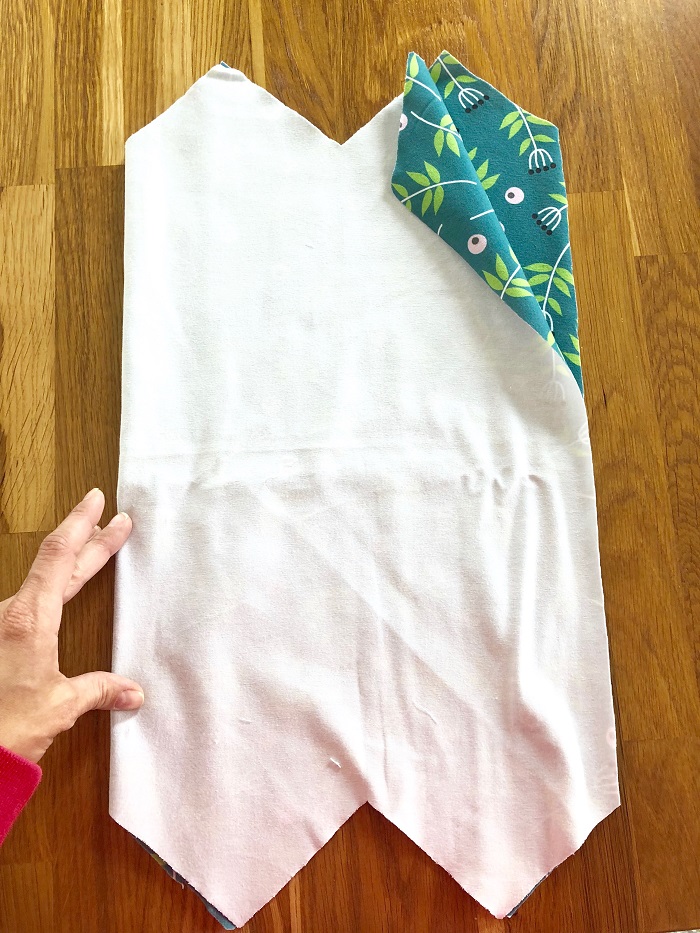
- Now, you need to cut off the corners of the fabric on the side where the edges are not connected, just as shown in the picture.

- Then, spread the fabric, and this time fold it along the shorter edges. Now, sew the fabric.

- Roll the fabric so that you are left with the shape of a “crown” – look at how the fabric for the hat is arranged in the picture.

Sewing the hat – finishing touches
- Sew the protruding triangles, one to the other, to get the top of the hat.

- All that’s left is to turn the hat inside out! Now, it’s ready to wear. How do you like it? 🙂

Be sure to show off the results of your work! Join the group Sewing beehive on Facebook and get hooked on sewing! We are waiting for you and your works!


