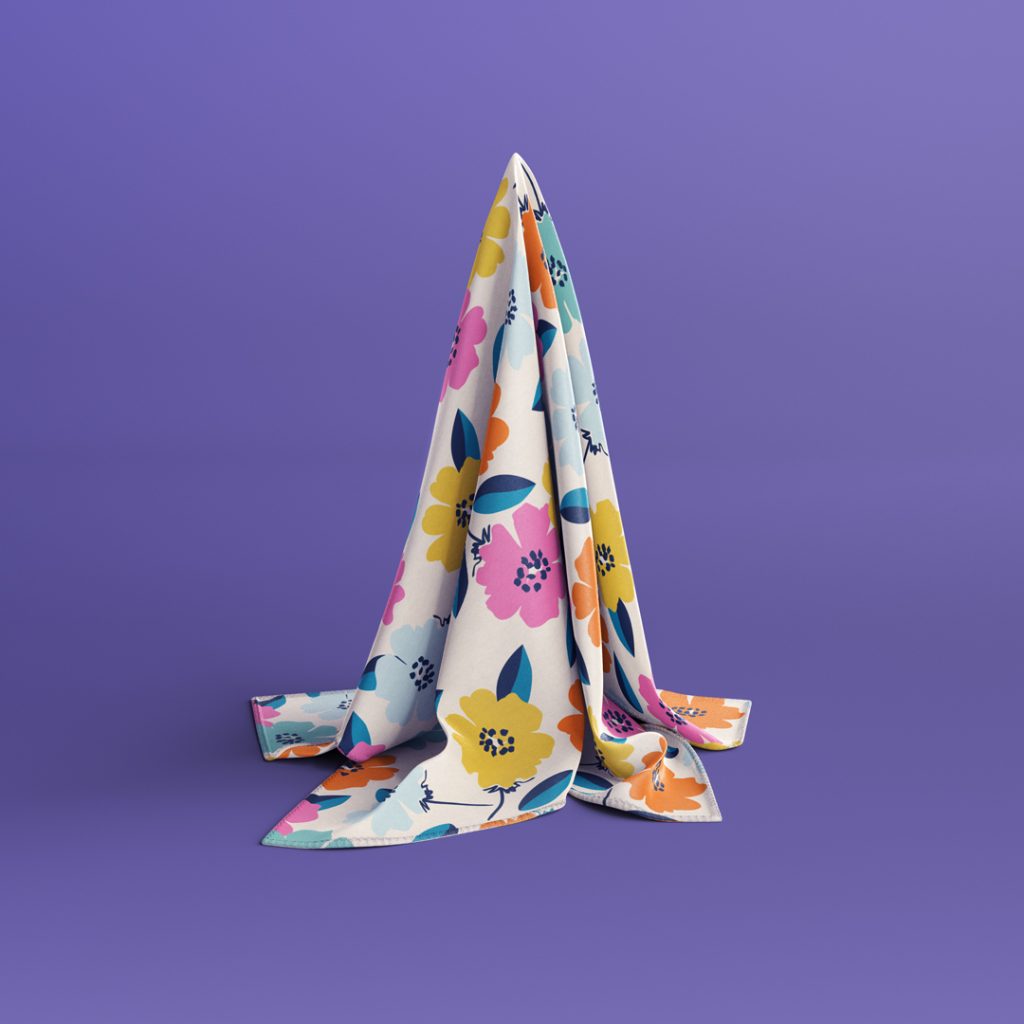
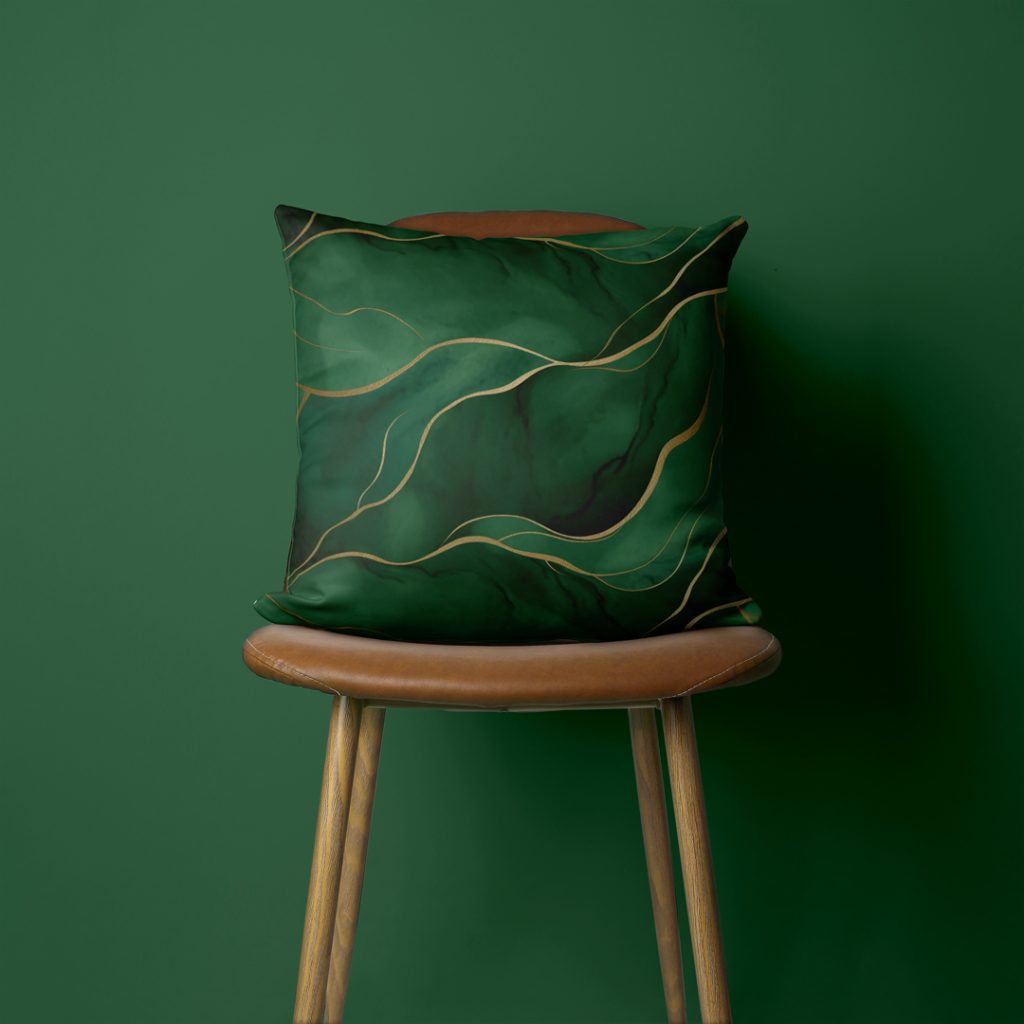
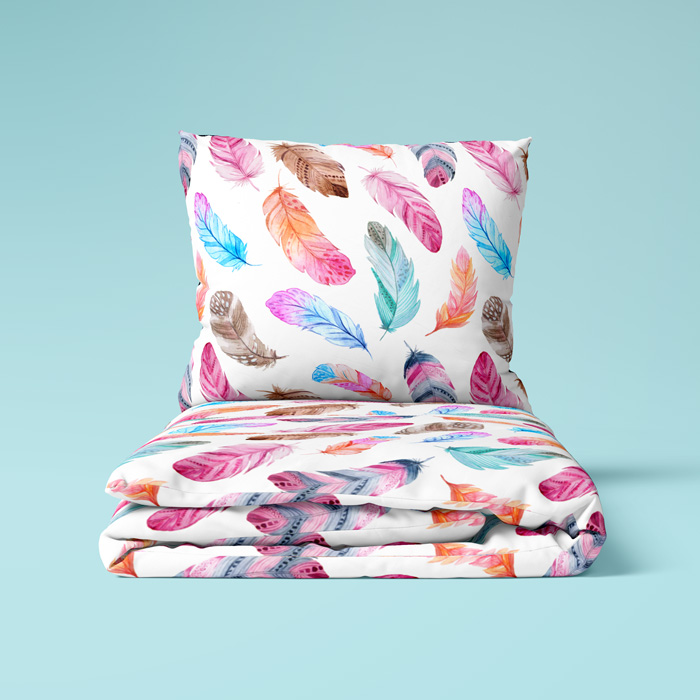
Sewing pillowcases – which fabric to choose?
We invite you on a unique journey through the world of pillowcase sewing. In this tutorial, we will discover together all the necessary steps and secrets to help you create your own beautiful pillowcases. From choosing fabrics to sewing techniques and filling, we’ve put together a comprehensive guide that will make sewing a pleasure. It’s time to see how simple and rewarding it can be to create your own interior accessories!
Table of Contents
- Pillowcase – which fabric to choose?
- Sewing a cushion cover – what do you need?
- Is a machine necessary to sew a pillowcase?
- Sewing a pillowcase with and without a zip – the differences
- Sewing a pillowcase – step by step
- Sewing a pillowcase with hotel fastening – instructions
- What to fill your finished cushion with?
- Sewing a pillowcase – summary
Pillowcase – which fabric to choose?
Choosing the right material is a key element when creating a cushion cover, as it affects both its appearance and functionality. There are many different types of material you can choose from, each with its own unique characteristics and benefits.
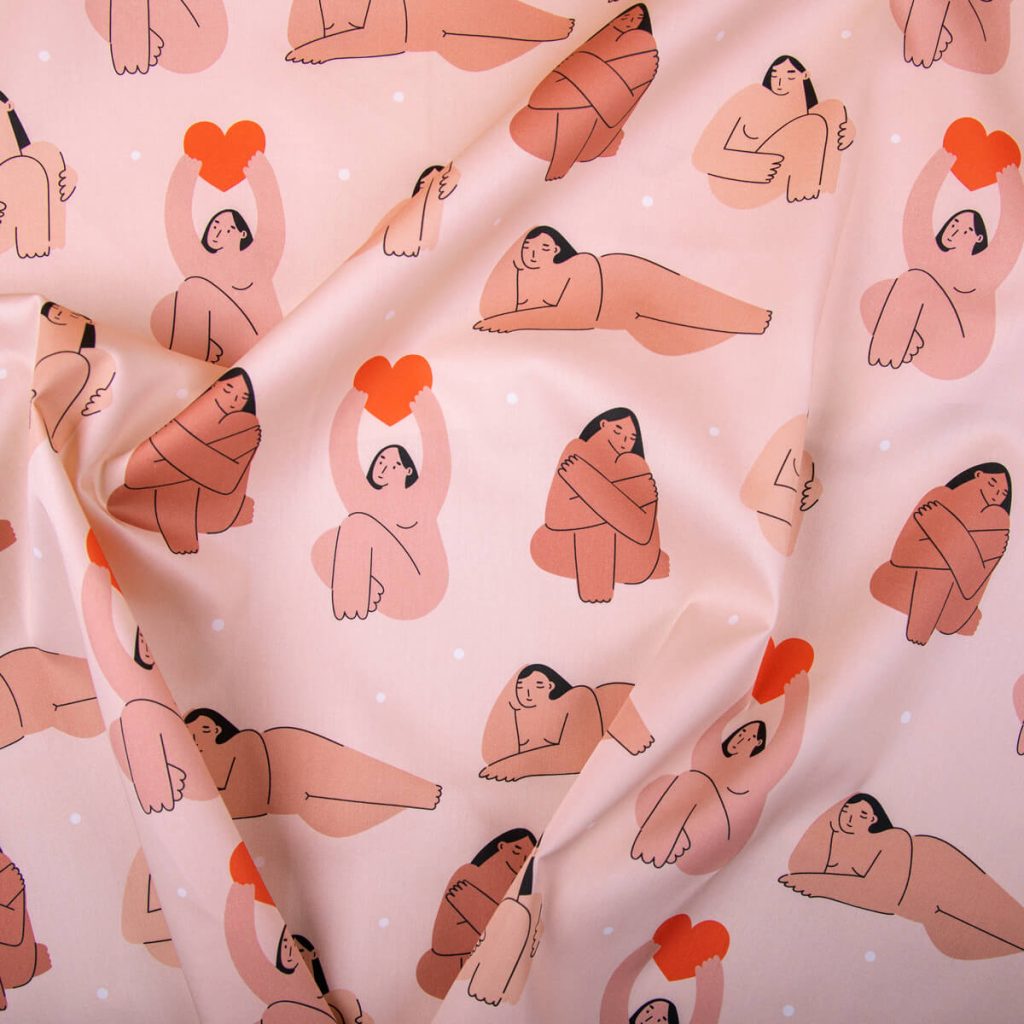
- Cotton: It is one of the most popular materials for pillowcases due to its softness, durability and ease of care. Cotton is breathable and hypoallergenic, making it ideal for those with sensitive skin. In addition, it is available in a wide range of patterns and colours.
- Satin: Pillowcases made from satin add elegance and luxury to an interior. Satin is smooth and soft to the touch, which makes it perfect for bed pillowcases. However, due to its softness, it can be more prone to creases and stains.
- Velour: This velvety fabric adds elegance and sophistication to pillowcases. Velour is soft to the touch, making it an ideal choice for decorative pillowcases. It is also durable and easy to care for.
- Linen: Pillowcases made from linen are ideal for those looking for natural materials. Linen is lightweight, breathable and has antibacterial properties, making it a great choice for the summer months. However, it can be more prone to creasing than other materials.
- Polyester: This is a synthetic material that is easy to care for and stain resistant. Polyester pillowcases are durable and crease-resistant, making them an ideal choice for everyday use. In addition, they are available in a wide range of designs and colours.
Sewing a cushion cover – what do you need?
Before starting your cushion cover sewing project, it is essential to gather all the necessary sewing supplies. Here is a list of the things you will need:
- Fabric: choose the right fabric for your pillowcase. It can be cotton, satin, linen, velour, polyester or any other fabric that suits your needs and style.
- Threads: Make sure you have the right threads to match the colour and type of fabric you are using. It is a good idea to have a stock of different colours of thread to suit different projects.
- Sewing machine: Although not absolutely necessary, having a sewing machine will make the sewing process much easier and speed up your work. Make sure you have your machine checked and ready to go.
- Pins: Pins are essential for pinning the fabric before stitching. Make sure you have enough pins to hold the fabric firmly in place.
- Fabric scissors: Choose sharp scissors that are suitable for cutting the fabric without damaging the fibres. Fabric scissors are an essential tool for any sewing project.
- Tailor’s centimetre: Having a tailor’s centimetre is key to accurately measuring and cutting your fabric. Make sure you have one to hand to ensure accuracy in your project.
- Tailor’s chalk: Tailor’s chalk will allow you to mark where to sew your fabric, making your work easier and ensuring more accurate seams.
- Machine needles: Make sure you have a supply of machine needles to avoid downtime if a needle breaks during sewing.
- Ironing board and iron: During the sewing process you will need an ironing board and iron to iron the fabric and seams to make your pillowcase look neat and professional.
- Additional accessories: Depending on your project, you may also need additional accessories such as zips, buttons, ribbons or embellishments to decorate your pillowcase.
Once you have all these sewing utensils to hand, you’ll be ready to start your pillowcase sewing project. Remember to prepare thoroughly and pay attention to detail for the best results.
Is a machine necessary to sew a pillowcase?
Is a sewing machine necessary to sew a pillowcase? The answer is: not necessarily. There are alternative sewing methods that allow you to create a pillowcase even without a sewing machine.
- Hand sewing: this is the most traditional sewing method that does not require a sewing machine. All you need is a needle, thread and patience. Hand sewing can be time-consuming, but it gives you complete control over the process.
- Fabric gluing: An alternative way to create a cushion cover is to use fabric glue. Special fabric glue is easy to use and allows you to finish your project quickly. However, a pillowcase made this way may be less durable than one sewn together.
- Sewing by hand on an outlined piece of fabric): This is a simple way to create a cushion cover. Simply outline the outline of the cushion on a piece of fabric, hand sew along the outline and turn right side out. This method does not require a sewing machine and is easy to make.
- Alternative closure methods: If you don’t have access to a zip or buttons, you can leave one side open and sew it together once the cushion is inserted. Velcro or embroidery can also be used.
Sewing a pillowcase with and without a zip – the differences
Sewing a pillowcase with or without a zip are two different techniques that have their own characteristics and require specific approaches. Here are some of the differences between the two:
- Presence of a zipper: A pillowcase with a zip needs to be prepared and the zipper needs to be positioned in the right place. It is also necessary to stitch the pillowcase in such a way that the zip can be opened and closed. In contrast, with a pillowcase without a zip, the edges are stitched together, which can be simpler and quicker.
- Difficulty of assembly: Sewing a pillowcase with a zip may require a little more precision and experience than a pillowcase without a zip. Fitting a zip can be time-consuming, especially if you are a novice tailor. A pillowcase without a zip can be easier to make, especially for beginners.
- Aesthetics: a pillowcase with a zip can look more modern and professional due to the presence of the zip, which adds a certain functionality and aesthetic. A pillowcase without a zip, on the other hand, can have a more traditional look and be more uniform.
Sewing a pillowcase – step by step
- Choose the right fabric: To begin with, choose a fabric that is suitable for your pillowcase. We wrote about the best fabrics for your cushion in an earlier section of this text.
- Measure your cushion: Measure the dimensions of your cushion to adjust your pillowcase to the correct size. Add a small seam allowance (usually 1-2 cm on each side) to your cushion dimensions.
- Fabric preparation: Make sure the fabric is ironed and free of any creases before cutting. Then cut the correct amount of fabric according to the dimensions of the cushion.
- Finding the place for the closure: If you plan to include a zip, mark the place for the closure on one of the fabric pieces. For a pillowcase without a zipper, mark one of the edges that will remain open for the cushion to be inserted.
- Stitching the fabric: Once you have marked the place for the closure, lay the fabric pieces right sides together and pin them in place. Then sew the sides and top edge of the fabric together, leaving the bottom edge (and possibly the closure space) open.
- Turn the pillowcase right side out: When the sides and top edge are sewn together, turn the pillowcase right side out.
- Placing the zip: If you have chosen a pillowcase with a zipper, now is the time to place the zipper according to the manufacturer’s instructions.
- Inserting the pillowcase: Once the zipper has been placed, or in the case of a pillowcase without a zipper, slide the pillowcase into the centre of the pillowcase.
- Closing the pillowcase: If you have left one side of the pillowcase open, now is the time to close it. You can do this by hand, sewing it with a needle and thread, or with a sewing machine, using what is known as an invisible stitch.
- Finishing and ironing: Finally, finish the pillowcase by checking that all seams are well sewn and the fabric is straight. Then iron the pillowcase to give it a neat look.
Sewing a pillowcase with hotel fastening – instructions
- Preparing the fabric: Choose a suitable fabric for your pillowcase and make sure it is ironed and crease-free. Then cut two pieces of fabric the size of your pillowcase, adding a small seam allowance to each piece (usually 1-2 cm on each side).
- Hotel clasp tabs: On one of the pieces of fabric (preferably the piece that will be the top of the pillowcase), mark the places where the tabs for the hotel clasp will be placed. There are usually two or three places at different heights.
- Stitching the tabs: Prepare pieces of fabric for the tabs about 5-7 cm wide and of a length depending on the width of the pillowcase. Sew the fabric pieces folded in half together on one side, leaving the other end open. Then turn the tabs right side out and iron.
- Preparing the fabric for the pillowcase: Once the tabs are ready, lay the two pieces of fabric right sides together, noting where the tabs will be placed. Pin them together with pins along the three edges, leaving an open edge at the bottom.
- Stitching the fabric: stitch the three closed edges of the fabric, leaving the bottom edge open. Make sure you stitch through both layers of fabric.
- Preparation of the hotel clasp tab: Place the tab for the hotel clasp inside the pillowcase, making sure that the loops come outwards. Pin the tabs in place with pins.
- Stitching the edges: On your sewing machine, stitch around the edge of the pillowcase to attach the tabs for the hotel clasp. Make sure the stitching is firm and stable.
- Turn right side out: When all the edges are sewn together, turn the pillowcase right side out and use a chopstick to move the corners so they are well shaped.
- Finish and iron: Finally, finish the pillowcase by checking that all seams are well stitched and the fabric is straight. Then iron the pillowcase to give it a neat look.
What to fill your finished cushion with?
Choosing the right filling for your finished cushion can make a significant difference to its comfort, appearance and functionality. Here are some popular materials you can fill your cushion with:
- Feather: Feather is one of the most traditional fillings for pillows. It is lightweight, soft and flexible, which makes feather pillows very comfortable for sleeping. However, they may not be suitable for people with feather or feather allergies.
- Down: Like feathers, down is light, soft and resilient, which makes pillows with down very pleasant to the touch. Down is more resilient than feathers, which means that the pillow can retain its shape for a longer period of time.
- Half down: Half down is a mixture of feathers and down, which offers a combination of softness and springiness. Half down pillows are suitable for people who like the softness of feathers but need more support.
- Silicone: Silicone balls or silicone fibres are an alternative to natural fillings. They are hypoallergenic, easy to clean and have good shape recovery.
- Latex sponge or sponge: Latex sponge or sponge is more resilient than traditional fillings, making pillows with this material suitable for those needing more neck and back support.
Sewing a pillowcase – summary
When creating your own cushion cover design, understanding the process and choosing the right materials is key. From the fabric you choose to the sewing techniques and filling, every detail affects the final result. Now that you have all the information you need, you can start your own project. Remember that practice makes perfect, so don’t be afraid to experiment and enjoy the creative process. Ready to start your pillowcase sewing adventure? Get creative and see how rewarding it can be to create your own unique additions to your home.