How to sew a button? Learn 5 efficient methods
Most of us cannot imagine clothes like a jacket, shirt or pants without stylish buttons, which are one of those elements that should go hand in hand with our garments if sewn correctly and aesthetically. There are different methods of sewing them on that you can choose depending on your proficiency and manual skills. You will be able to sew on a button in no more than 5 minutes regardless of whether it is with holes or with a shank. The former usually has two to four holes. The latter is attached to the fabric using metal, wire or birdcage type shanks. Here are 5 useful methods for sewing a button.
Table of Content
- How to manually sew on a flat button?
- How to manually sew on a shank button?
- How to sew on a button with a sewing machine?
- Sewing a button on for beginners
- Sewing with a reinforced button
How to manually sew on a flat button?
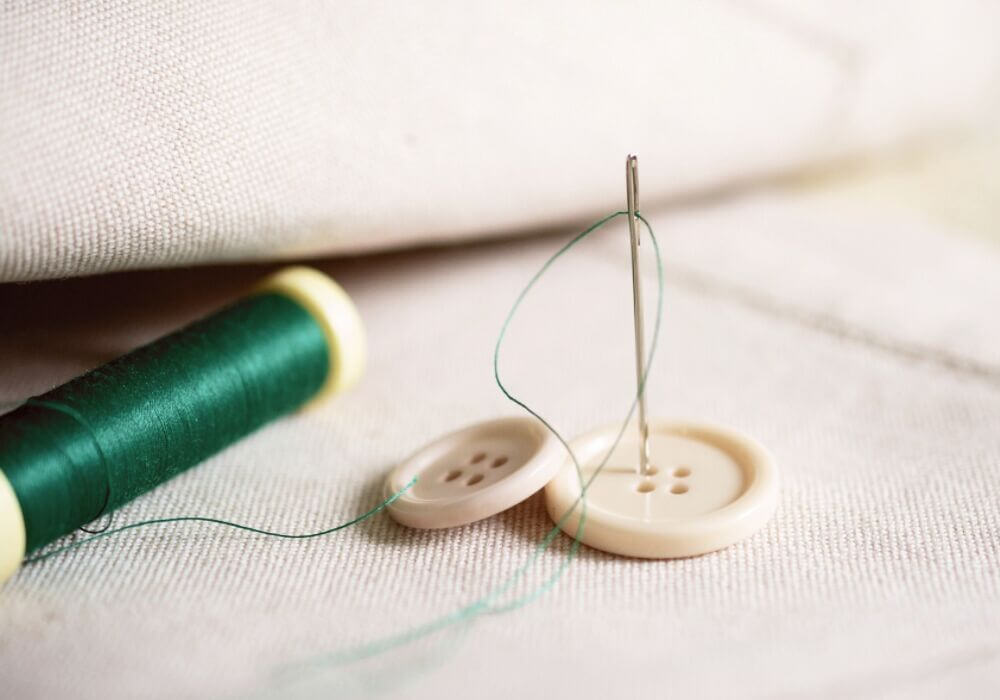
To manually sew on a flat button, you need sewing fabric and items such as a needle and thread. Additionally, it is worth having a pencil or crayon. First of all, you should mark the spot where you want to sew the button on the fabric. Next, it is enough to gently guide the thread through both holes in the button and the fabric. Repeat this about 10 times, so it does not fall off when worn or washed. Later, wrap the thread tightly between the button and textile (it is worth doing it clockwise to make the effect more aesthetic). Finally, pull the thread to the wrong side of the fabric, make a loop and clip any excess thread. When sewing a button with four holes, first sew the first two upper holes, then the lower ones.
How to manually sew on a shank button?
In order to manually sew a shank button, you need a sewing fabric, a crayon or pencil and a needle with thread. Firstly, you have to pull the thread through the textile, then the shank, and then the fabric again. The next step is to tighten the fabric firmly, so the button stays still and does not move. Repeat this step several times, leaving the end of the thread on the wrong side of the fabric. Eventually, make a little knot and cut off the excess thread.
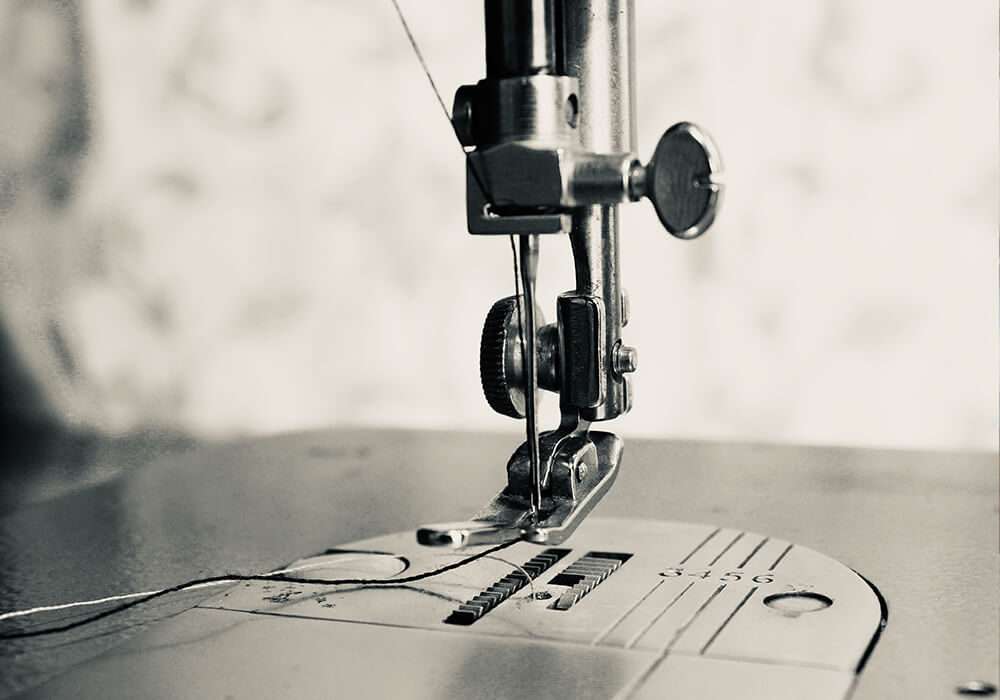
How to sew on a button with a sewing machine?
Sewing by hand is time-consuming and not every tailor can afford to practice this method. The process of machine sewing is fast and efficient, but you need to know how to do it skillfully so as not to damage anything. After you have selected the sewing fabrics and a cut for our clothes, all you have to do is attach the buttons sewing foot to the machine. Next, you have to arrange everything properly. The order starting from the bottom is the bobbin cover, the fabric, the button and finally the foot. The most significant element of machine sewing buttons is the proper selection of the stitch as the distance between the holes must be flawlessly adjusted. Otherwise, the needle may miss the hole and hit the button, which can result in its destruction. The easiest way is to choose a zigzag stitch.
Sewing a button on for beginners
Although manual sewing is simple for some, it may seem a little complicated for beginners. A person who is a tailoring layman should start the process of sewing buttons by threading a needle and tying it with a double knot at the end. Then, the sewing fabric should be pierced from its wrong side to the right side with a needle exactly where you want the button to be. Finally, you have to pull the thread in order not to leave any unnecessarily loose spaces and repeat the whole process a couple of times.
If you are not particularly skilled, you can help yourself with a toothpick or a match that you can put between the button and the sewing fabric. They allow enough room to push the button through the hole while buttoning your favourite shirt or blouse. At the very end, when the button clings tightly to the textile, a double knot must be tied on the wrong side, and the excess thread must be cut off.
Sewing with a reinforced button
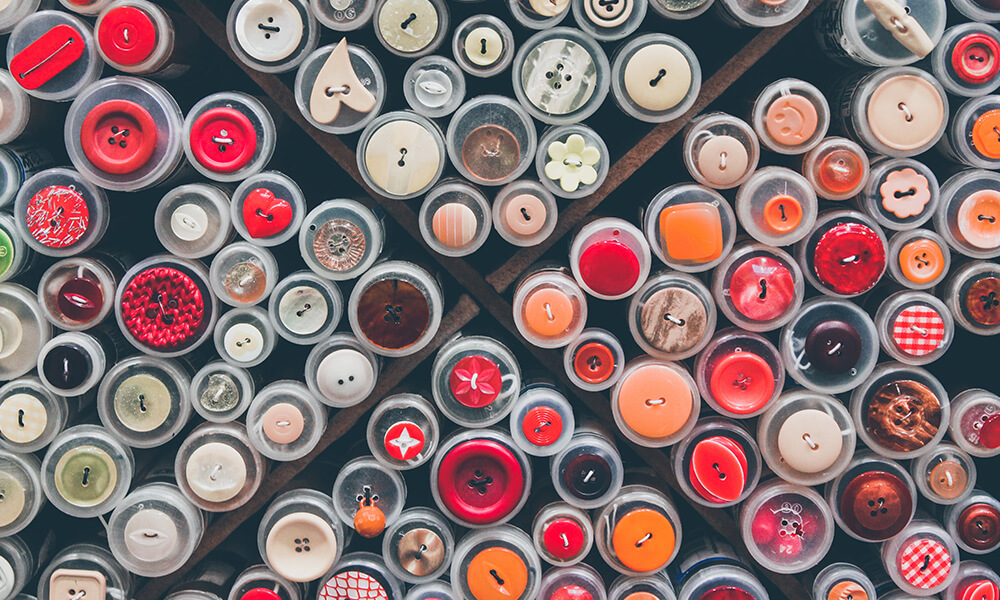
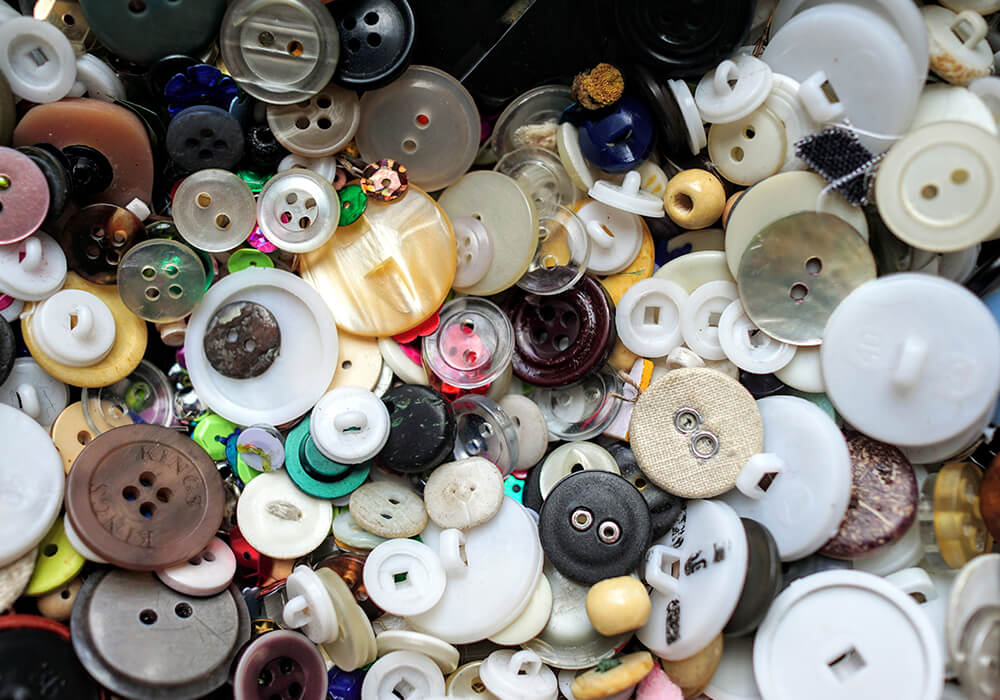
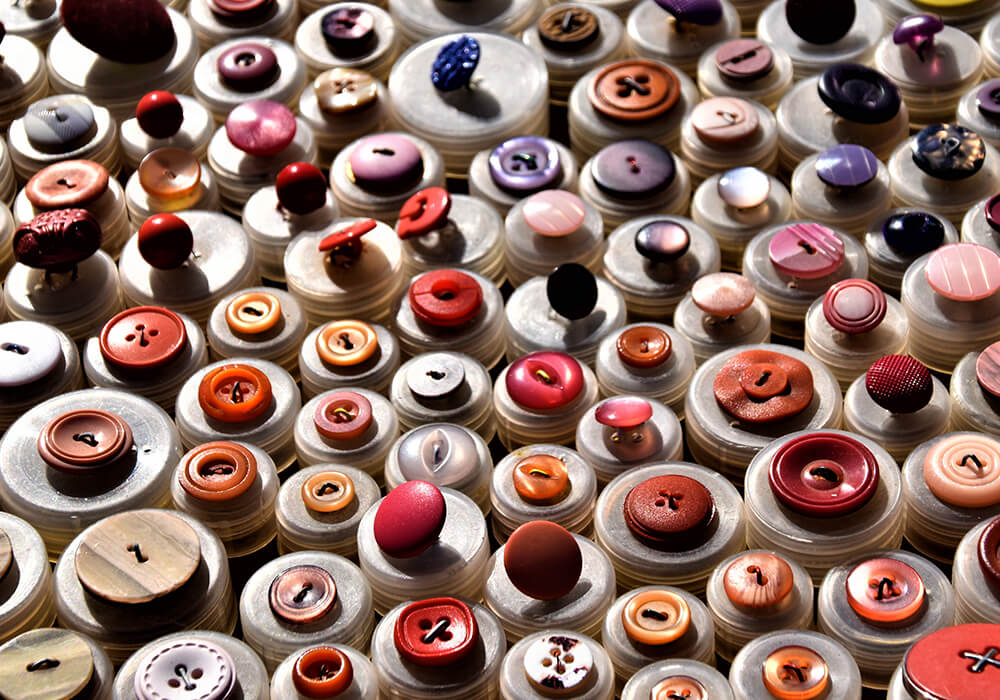
The choice of sewing fabrics is just as critical as the choice of buttons. They are not only a functional accessory but also a means of embellishing the clothes and giving them additional visual improvements. They can be wooden, metal or made of plastic, in various colours and textures.
Buttons that are supposed to hold particularly tight are best sewn with a small reinforced button. It must have the same number of holes as the main button. They are sewn with a strong thread that should pass through both of them. To conclude the process, the stitch needs to be locked between the main button and the buttoning strip. All you have to do is pass the thread to the underside of the strip and you are done!
Depending on the button size, the sewing process may slightly differ. The thread should be durable and strong enough not to leave any slack and prevent the buttons from unravelling during use. It prevents the buttons from loosening up and allows for comfortable buttoning with just one hand. The colour of the thread should be as close as possible to those of the fabric and the buttons. If the sewing fabric is multicoloured, it is best to pick the colour that is most prevailing in the fabric. It is unaesthetic to sew a white button with black thread and vice versa.