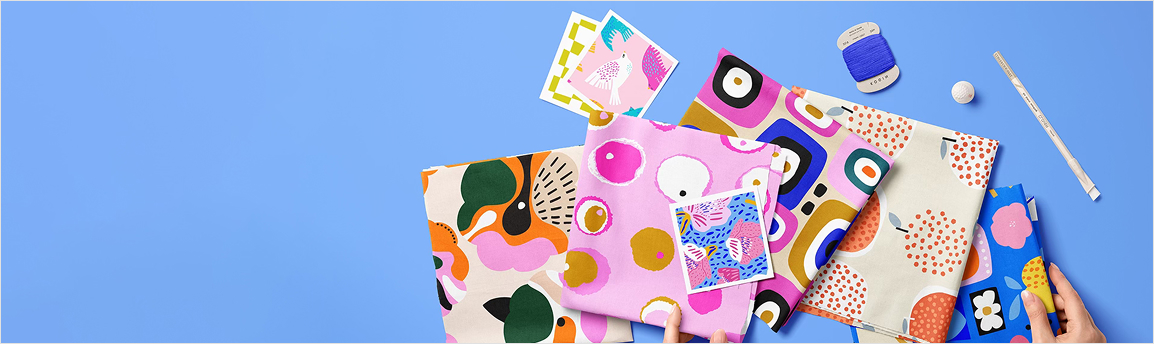
How to design a seamless pattern for fabric printing
Designing seamless patterns is a very complex yet handy skill – it allows you to create fully personalised garments – not only in terms of a cut, but also when it comes to a print on fabric! Are you ready to become an artist and print your own unique pattern on sewing fabric? Here you’ll find out how to design a seamless pattern for fabric printing!
Table of contents
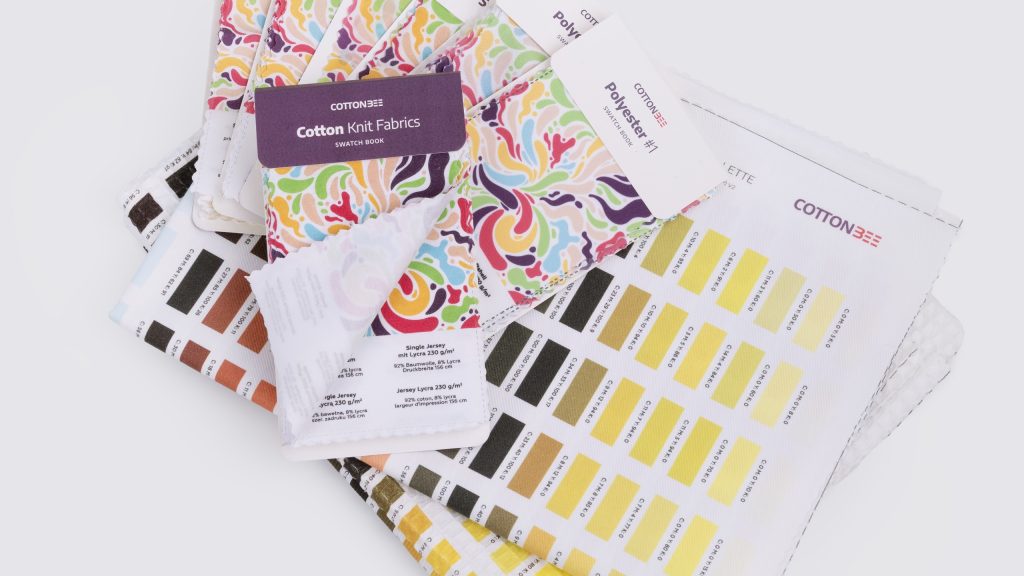
There are different ways of pattern designing. You can use Adobe Illustrator for vector graphics or Photoshop for working with raster images. There are a ton of different apps and programs to choose from, such as Canva, Procreate, Clip Studio Paint or Affinity Designer. Today we’ll show you how to create your pattern for sewing fabric and prepare a file for printing in Adobe. You can upload such an image into the CottonBee application and print it on sewing fabric!
This tutorial was created using the latest version of the software, i.e. Adobe Photoshop CC 2022 and Adobe Illustrator CC 2022.
Check also: How do I print a pattern on a woven or knitted fabric
How to prepare seamless print in Photoshop?
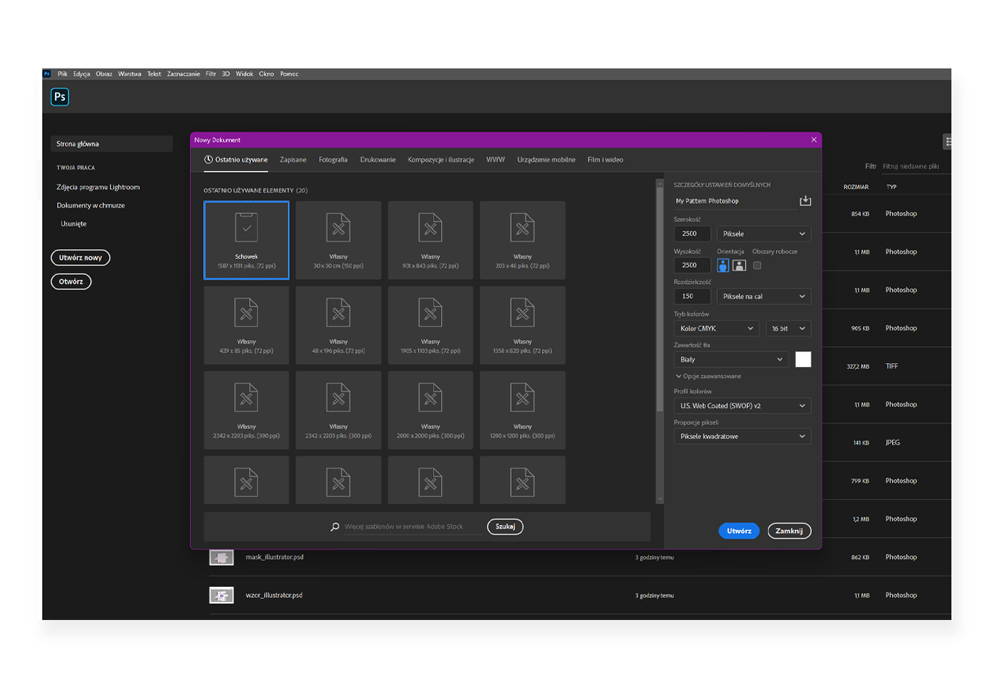
Create a new document sized 2500 x 2500 px, set the colour profile to CMYK, U.S. Web Coated, make sure the resolution is set to 150 dpi.
 You can create your seamless print using a scan of your drawing, art drawn in Procreate or by using available in public domain images to create a collage. For the purpose of this tutorial, we will be using some simple, abstract shapes.

Time to place the elements of your composition to make it into a seamless print. For any design to become a seamless pattern, the elements that extend beyond your artboard or canvas, have to be mirrored in the perfect position on the opposite side of your project. The pink element placed at the top border of your artboard has to be duplicated on the bottom edge in the exact right place. How to do it? Select the layer with your element, duplicate it (Ctrl+J) and select your duplicated layer (Ctrl+T).
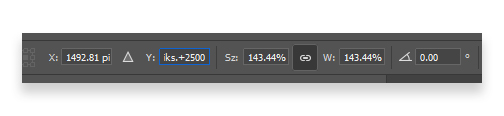
In the top menu panel, you can find the width and height of your selected element as well as the X and Y coordinates. The Y parameter refers to the placement of your element on the vertical axis, the X parameter marks the point where your element lays on the horizontal axis. To change the placement of your element and create a seamless pattern all you have to do is change the position of your duplicated element adding or subtracting the exact height or width of your canvas.
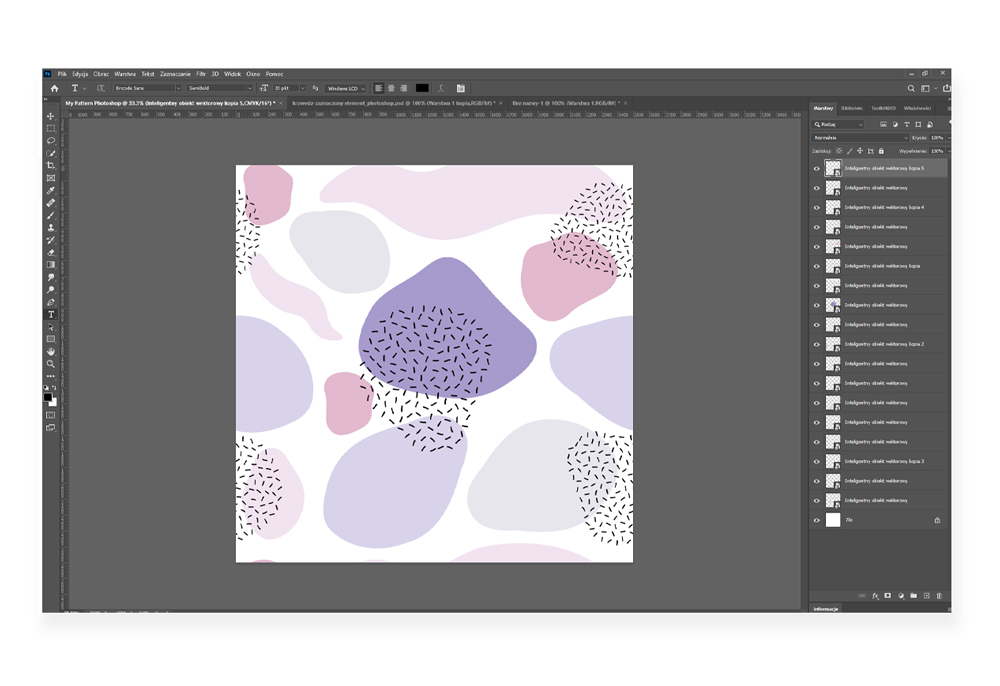
The process is similar for elements placed on the side edges. To move an element to the right of its original position, we add the width of the artboard and to move it to the left we subtract the width of the canvas from its position. Now that the items that fall off the edge of the artboard are in the right place, it’s time to complete your composition. Once you’re happy with your design, save the finished file: select the .tiff format, uncheck the checkbox with layers and select the one with a colour profile (ICC Profile: U.S. Web Coated …). Then a window with options to save the .tiff file will appear. Be sure to select LZW compression.
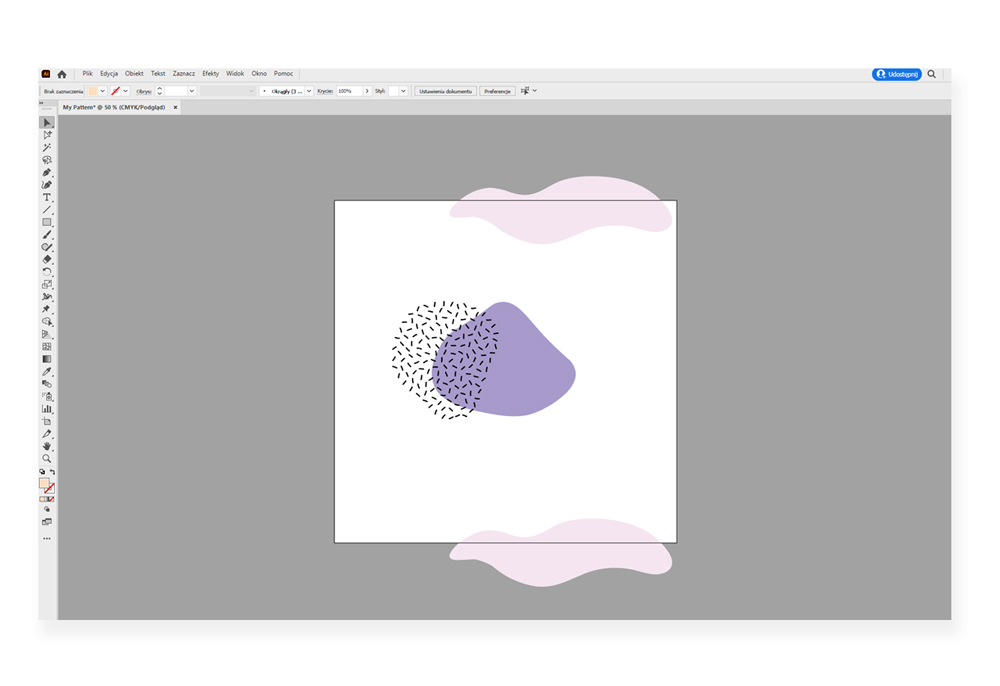
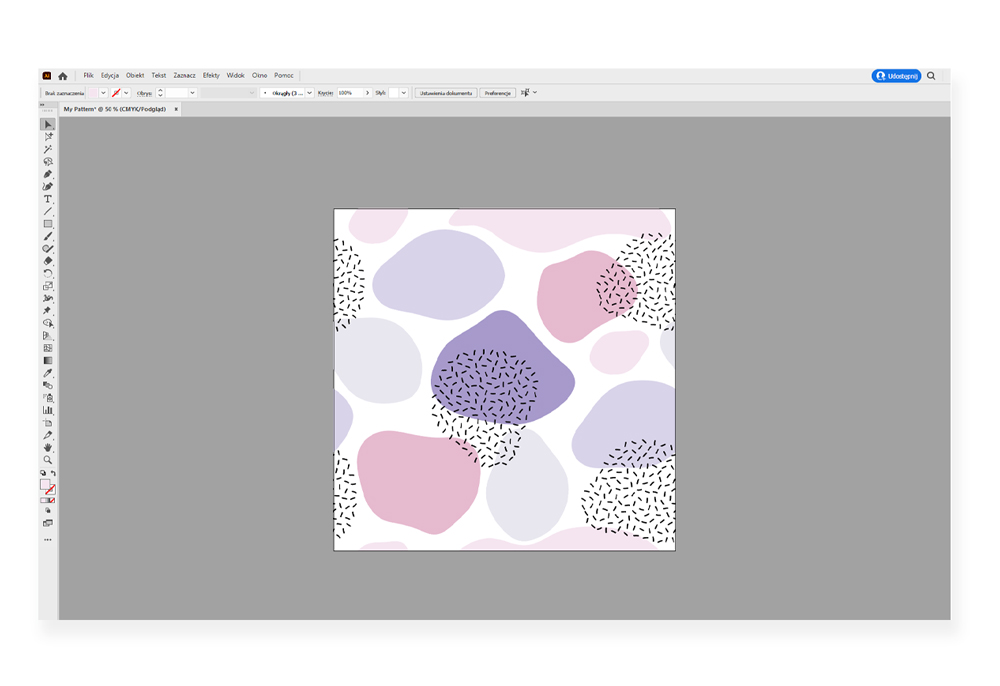
How to design a seamless pattern in Illustrator?
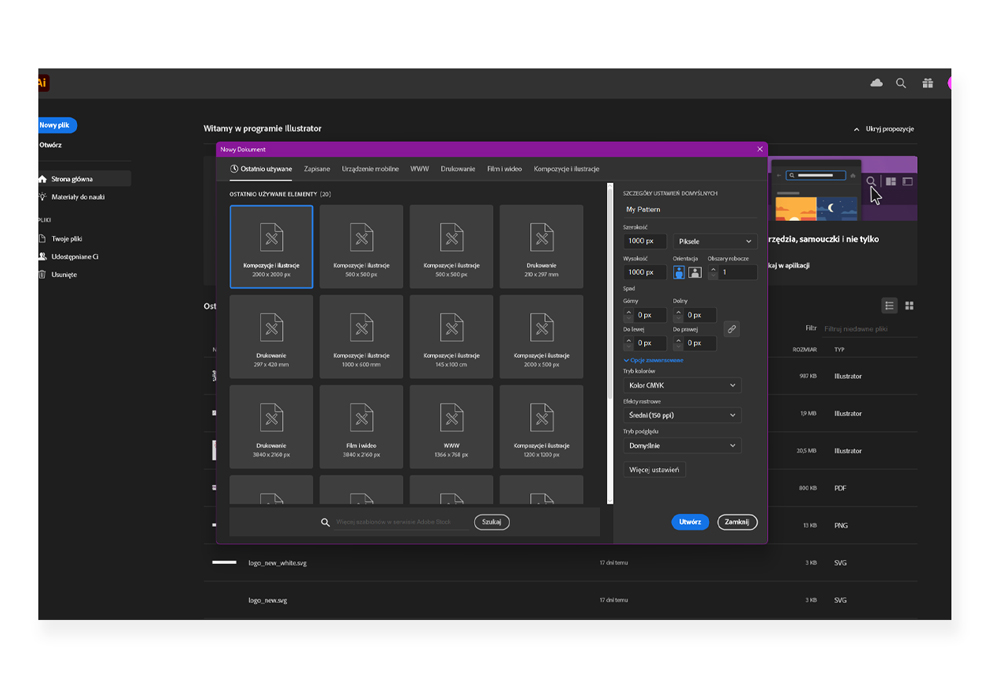
When you start creating a seamless pattern in Illustrator, remember to set the correct color profile and resolution of your image at the stage of creating a new document. For printing, we accept graphics with a minimum resolution of 150 dpi, saved in the CMYK palette. In Illustrator, create a new 1000 x 1000 px document.
After creating the file, select Artboard Tool Workspace (Shift + O) from the side menu of the program (Shift+O).
A panel with the dimension and position of the artboard will appear in the top menu. It’s extremely important that the X and Y dimensions are expressed as an integer – this will avoid the white pixel when exporting the file. Next to the items, the dimensions of the working area are given, in this case it is 1000 x 1000 px.

When all the parameters are properly set, it’s time to start arranging the elements on your artboard.
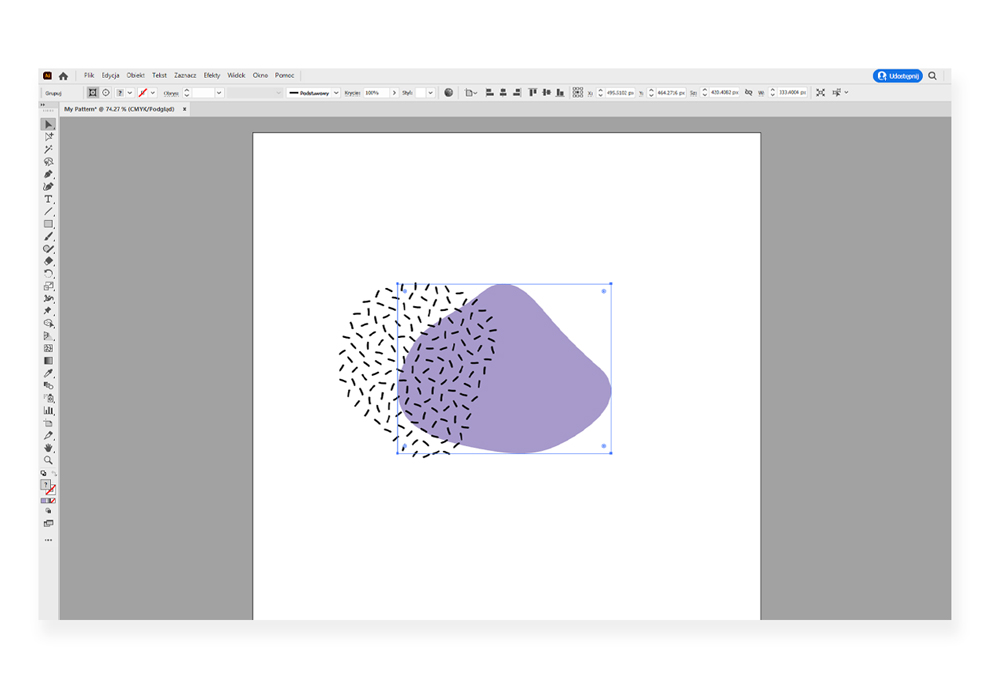
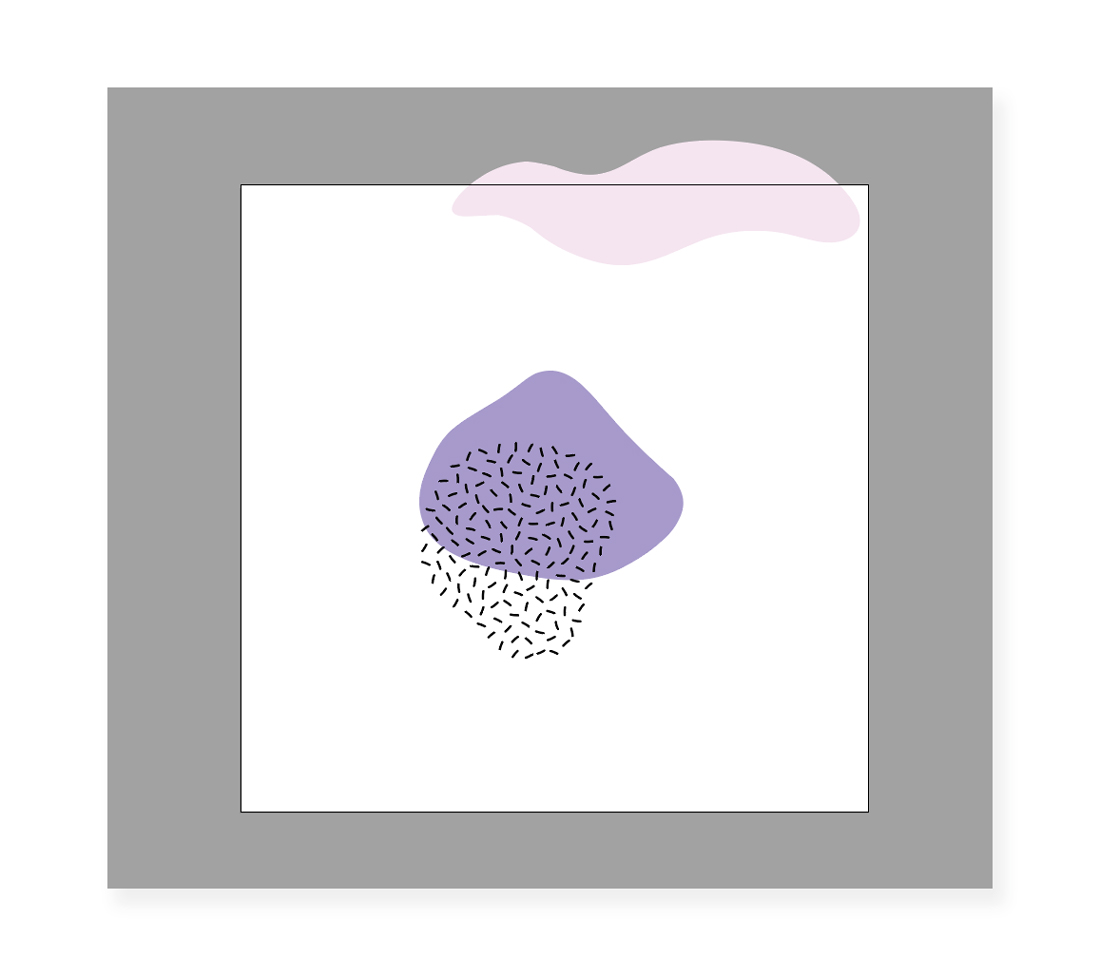
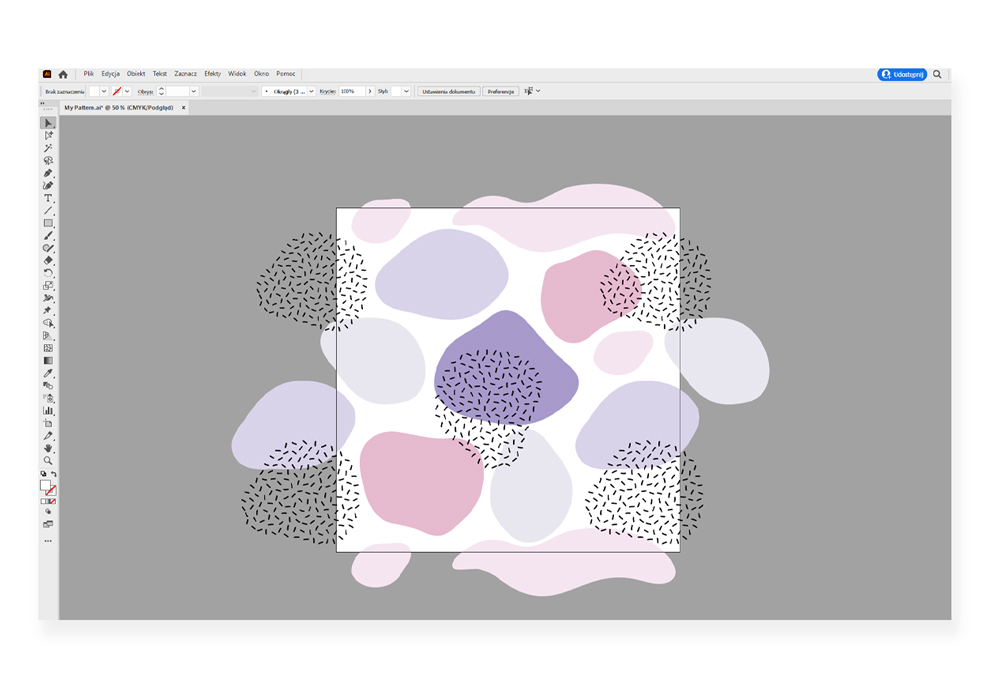
Here’s where all the fun begins. For the pattern to connect seamlessly, the elements that we place on the edge have to properly reflect on the opposite edge. The pink element placed on the top edge must be duplicated on the bottom edge in the perfect position. How to do it? Copy and paste the pink element. Now change its Y position (the parameter responsible for the vertical position of elements) increasing its value by 1000 pixels (or by the height of the canvas, if you set it differently). If the element is on the top edge, we add the area height to its position, but if it is at the bottom, we subtract the artboard height from its position. The same applies to elements placed on the side edges: to move an element on the left edge, add 1000 px to it (area width), and to change the position of the element on the right, we subtract 1000 px from its position.
It’s time to arrange the rest of the elements on the canvas and create the entire composition.
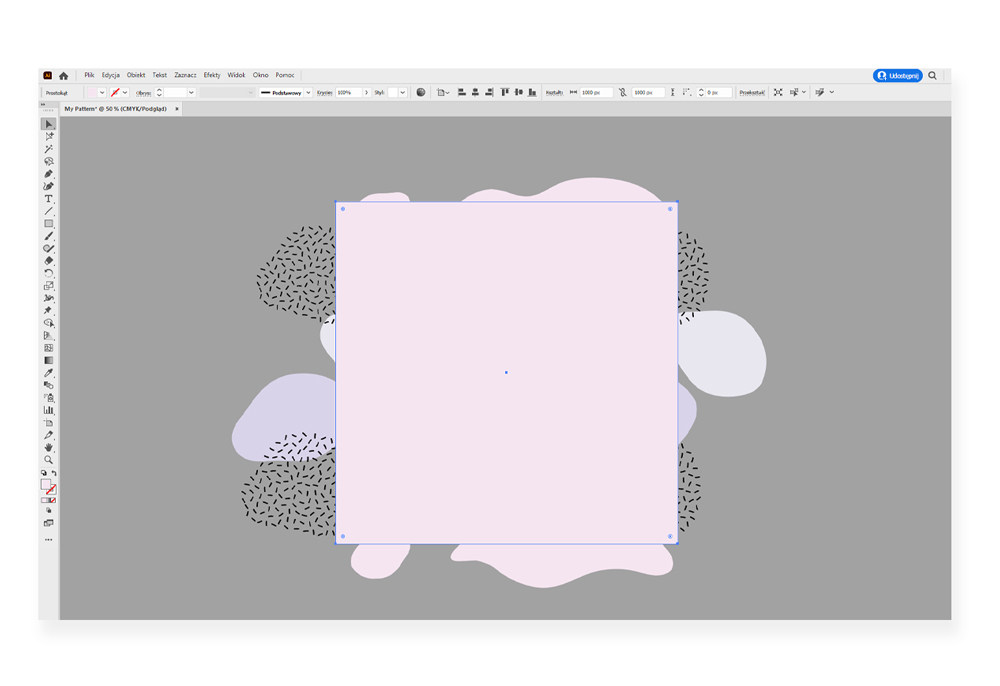
When all the elements are in their place, it’s time to draw a square the size of the canvas, in our case 1000 x 1000 px.
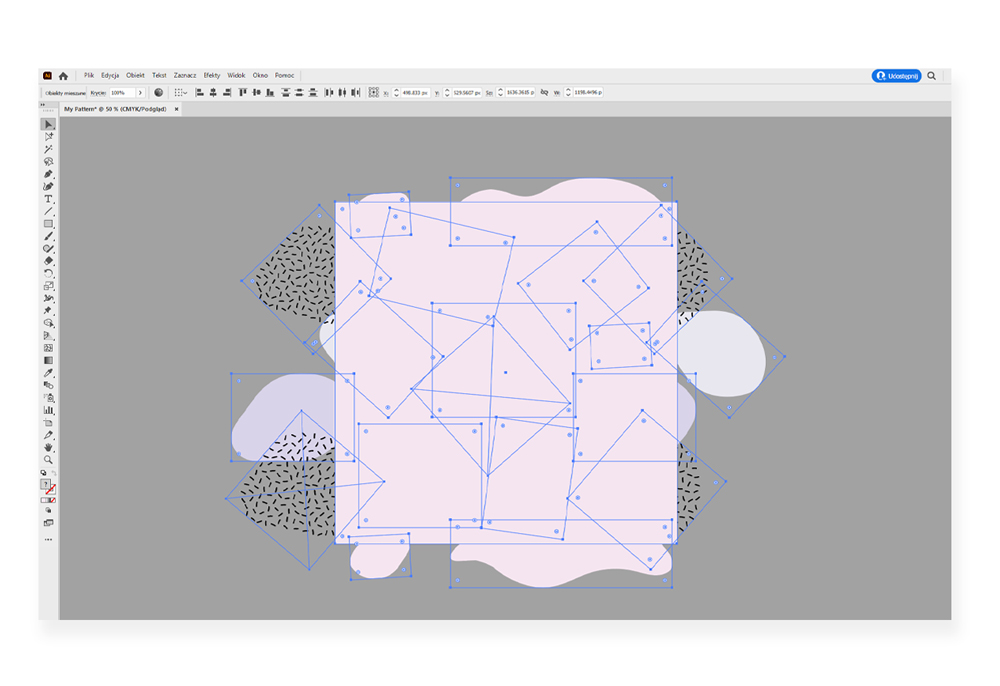
When the square is ready, select everything, right-click and choose Make a Clipping Mask.
This is how to create seamless pattern…
… which we just need to export. Click Export -> Export As, select the .tiff format and click the Export button. When the window with the .tiff file settings appears, select LZW compression and select the CMYK profile, U.S. Web Coated where we print all our materials.

Remember to always check that you have achieved the seamless pattern before sending your file for printing.
Check also: How to properly prepare a file for fabric printing?